As an experienced RV battery supplier, I understand the importance of ensuring your RV battery is in top - notch condition. Testing an RV battery regularly can save you from unexpected breakdowns during your adventures on the road. In this blog, I'll guide you through the process of testing an RV battery, covering different types of tests and what the results mean.
Understanding Your RV Battery
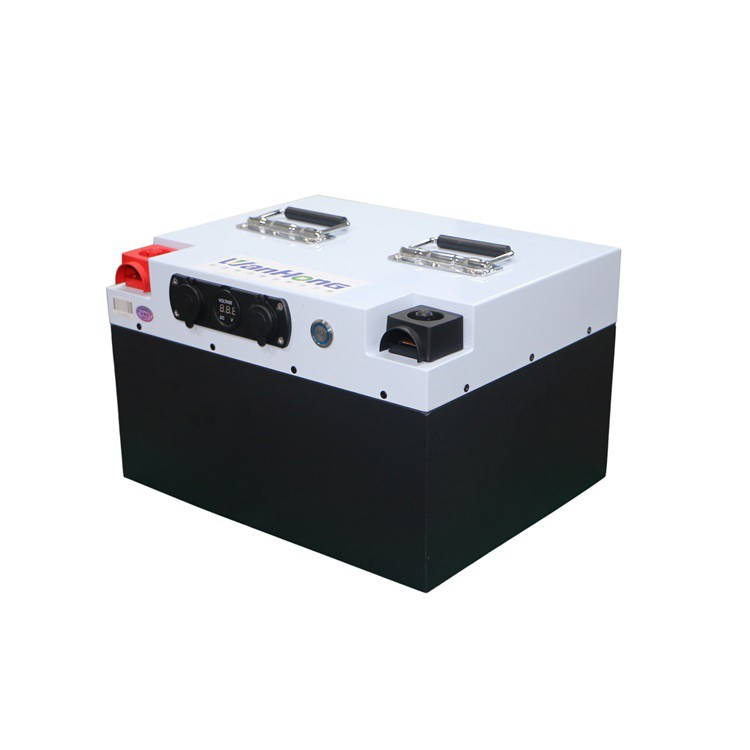
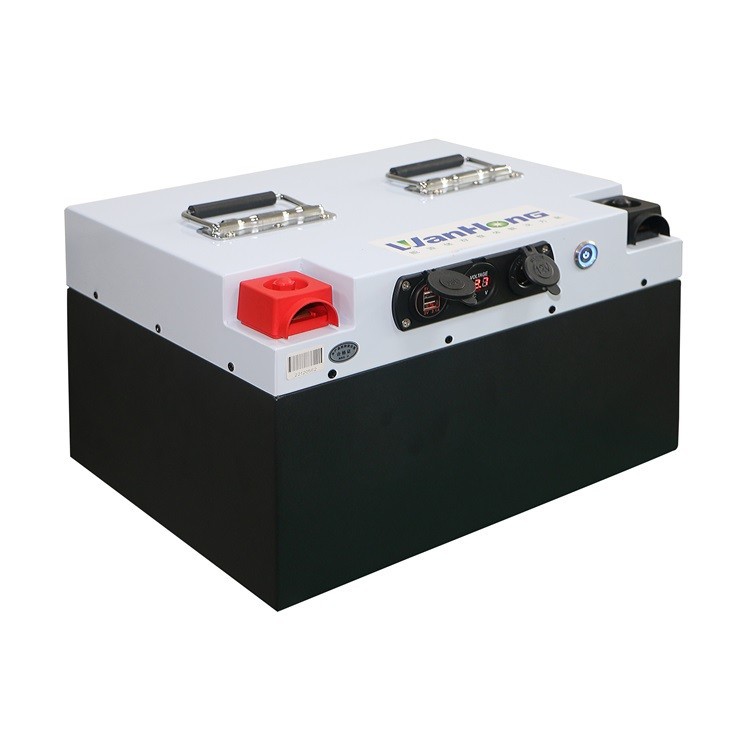
Before we dive into the testing process, it's crucial to understand the types of RV batteries available. The most common ones are 12V and 24V batteries. You can explore our 12V RV Battery and 24V RV Battery options on our website.
RV batteries can be classified into two main categories: flooded lead - acid batteries and sealed batteries (such as AGM - Absorbent Glass Mat and Gel batteries). Flooded lead - acid batteries require regular maintenance, including checking and topping up the electrolyte levels, while sealed batteries are virtually maintenance - free.
Pre - Test Preparations
Before starting any battery test, safety should be your top priority. Wear safety goggles and gloves to protect yourself from acid spills and electrical shocks. Make sure the RV is parked in a well - ventilated area to avoid the buildup of potentially explosive hydrogen gas.
Also, gather the necessary tools for testing. You'll need a multimeter, a hydrometer (for flooded lead - acid batteries), and a battery load tester.
Visual Inspection
The first step in testing an RV battery is a visual inspection. Look for any signs of physical damage, such as cracks, bulges, or leaks. A cracked battery case can lead to electrolyte leakage, which is not only dangerous but also indicates a serious problem with the battery.
Check the battery terminals for corrosion. Corroded terminals can impede the flow of electricity and cause starting problems. If you notice corrosion, you can clean the terminals using a mixture of baking soda and water. Apply the solution with a wire brush, then rinse with clean water and dry thoroughly.
Testing Battery Voltage with a Multimeter
A multimeter is a versatile tool that can measure voltage, current, and resistance. To test the battery voltage, set the multimeter to the DC voltage setting. For a 12V battery, select a range higher than 12V, such as 20V. For a 24V battery, choose a range higher than 24V, like 50V.
Connect the red probe of the multimeter to the positive battery terminal and the black probe to the negative terminal. A fully charged 12V battery should read around 12.6 - 12.8 volts. A 24V battery should read approximately 25.2 - 25.6 volts when fully charged.
If the voltage is significantly lower than the expected range, it could indicate that the battery is discharged or has a problem. A reading of less than 12.2 volts for a 12V battery or 24.4 volts for a 24V battery suggests that the battery may need to be recharged.
Hydrometer Test (for Flooded Lead - Acid Batteries)
A hydrometer is used to measure the specific gravity of the electrolyte in a flooded lead - acid battery. The specific gravity is an indication of the state of charge of the battery.
Remove the caps from the battery cells. Insert the hydrometer into each cell and draw in some electrolyte. Read the specific gravity value on the hydrometer's float.
For a fully charged battery, the specific gravity should be around 1.265 - 1.280 at 80°F (27°C). As the battery discharges, the specific gravity decreases. A specific gravity of 1.220 indicates a 50% charge, and a reading of 1.170 means the battery is nearly fully discharged.
It's important to note that the specific gravity readings can be affected by temperature. You may need to adjust the readings according to the temperature correction chart provided with the hydrometer.
Load Testing
A load test is a more comprehensive way to evaluate the battery's performance under a simulated load. A battery load tester applies a load to the battery for a short period and measures the voltage drop.
Before performing a load test, make sure the battery is at least 75% charged. Connect the load tester to the battery terminals according to the manufacturer's instructions. Apply a load equivalent to half of the battery's cold - cranking amps (CCA) for 15 seconds.
During the load test, observe the voltage reading on the load tester. A healthy battery should maintain a voltage of at least 9.6 volts for a 12V battery or 19.2 volts for a 24V battery. If the voltage drops below this level, it indicates that the battery may be unable to deliver sufficient power under load and may need to be replaced.
Interpreting the Test Results
Based on the test results, you can determine the condition of your RV battery. If the battery passes all the tests with flying colors, it's in good condition and can continue to serve you on your RV adventures.
However, if the battery fails one or more tests, it may be time to consider a replacement. A battery that consistently fails to hold a charge, has low voltage, or shows signs of physical damage is likely reaching the end of its lifespan.
Why Choose Our RV Batteries
At our company, we offer high - quality RV batteries that are designed to meet the demands of your travels. Our 12V RV Battery and 24V RV Battery options are built with advanced technology to provide reliable power and long - lasting performance.
We prioritize safety and quality in every battery we produce. Our batteries undergo rigorous testing to ensure they meet the highest industry standards. Whether you're a weekend camper or a full - time RVer, our batteries can provide the power you need to keep your RV running smoothly.
Contact Us for Procurement
If you're interested in purchasing a new RV battery or have any questions about battery testing and maintenance, we'd love to hear from you. Contact us to start a procurement discussion. Our team of experts is ready to assist you in finding the right battery for your RV.
References
- "RV Batteries: A Comprehensive Guide" by RV Lifestyle Magazine
- "Battery Testing and Maintenance Handbook" by Battery Manufacturers Association